Photoshop is a great tool in creating GIFs. You have the choice of using multiple images or using a video file (although I’d keep the video file small as possible).
You can download some sample assets to use for this tutorial here.
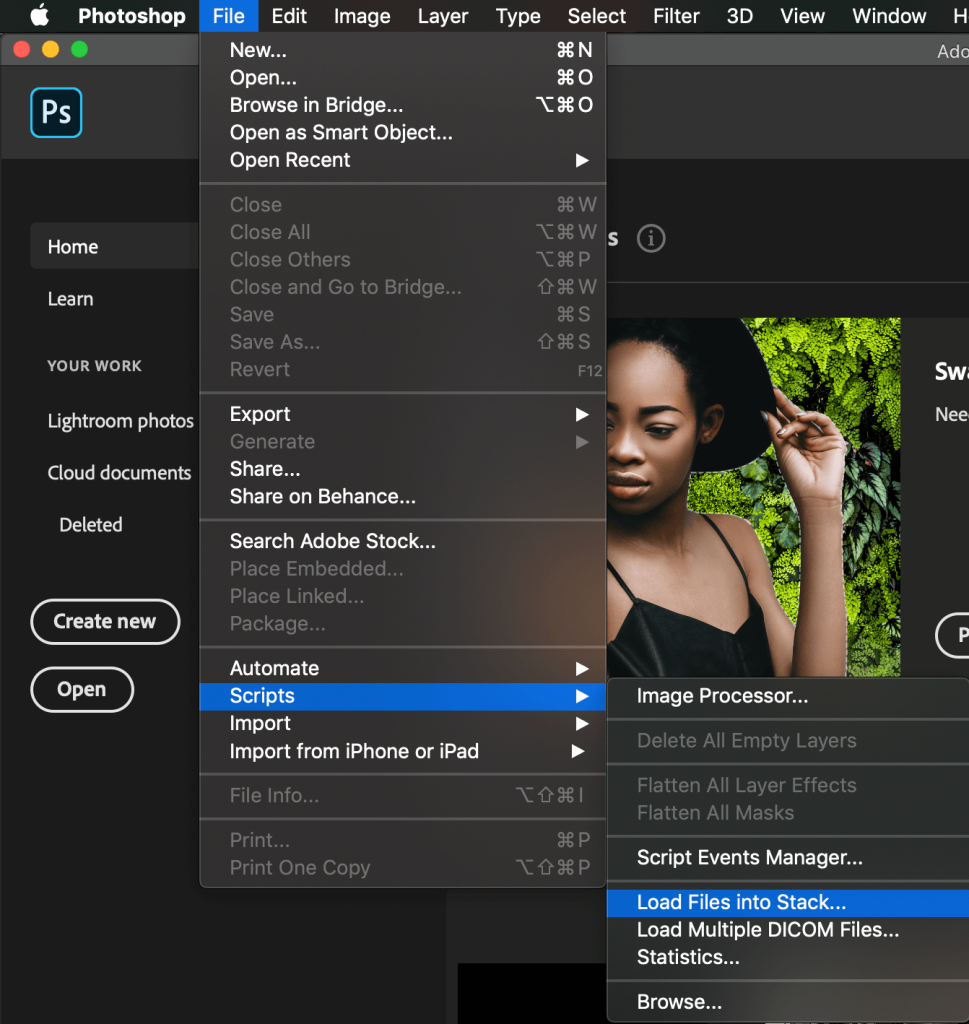
Open Photoshop and go to File > Scripts > Stack > Load Files into Stack Click Browse, choose the photos you want to use which will appear in your layers by Shift-clicking on the full list. Each of these photos will be one frame in your GIF.
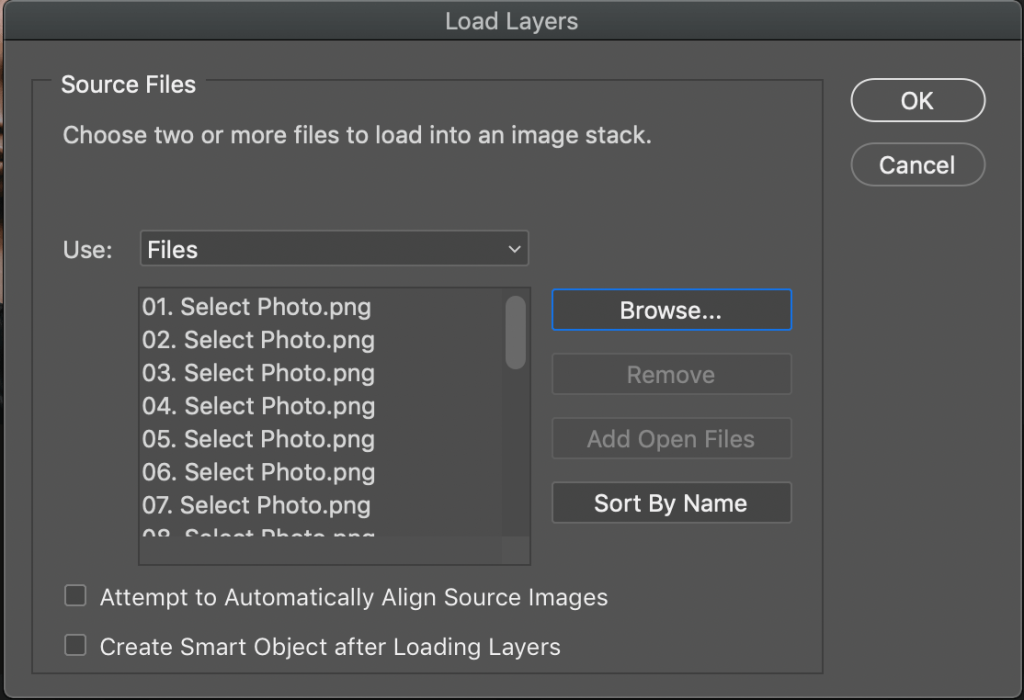
The ‘Load Layers’ screen will look like the picture below. Once happy with your selected images click the OK button.
Under the Window menu, in the drop-down near the bottom click Timeline.
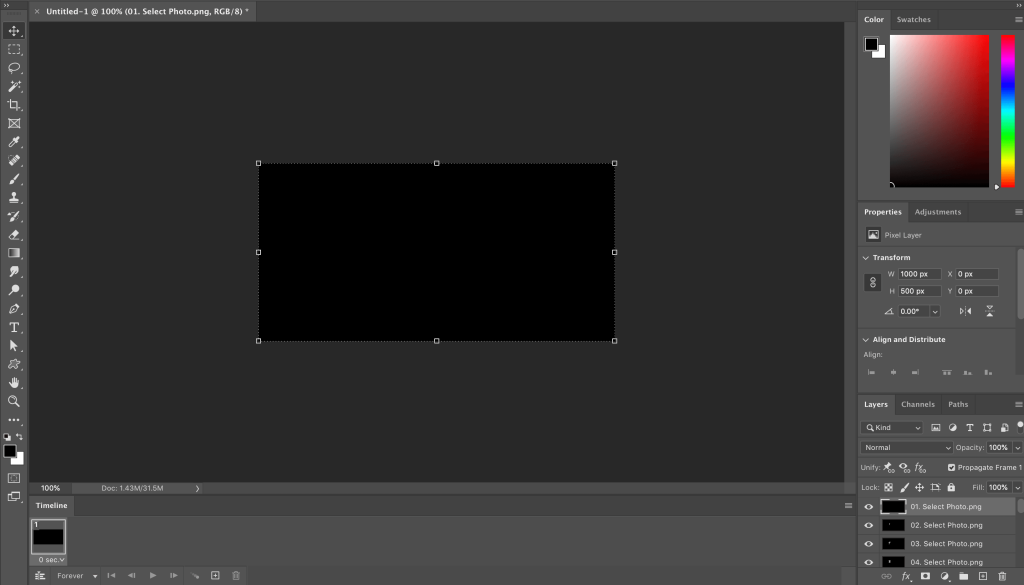
An additional window will appear under the preview window: Click the arrow to the right of Create Video Timeline. Click this and change it to Create Frame Animation.

In the top right of the “Timeline” panel you’ll see a hamburger icon. Click on the hamburger menu and click Make Frames From Layers.

Now the Timeline panel will show your animation frames in sequential order. You can click+drag these around to reorder them however you wish.

Click the Play icon to see your frames in action – this is a preview of how your GIF will look once exported. Remember to make sure that the Forever is selected in the drop down menu on the left, If this isn’t selected your GIF will only loop a finite number of times.
Converting a video into a GIF using Photoshop requires you to make layers out of the video frames. First, click File > Import > Video Frames to Layers…
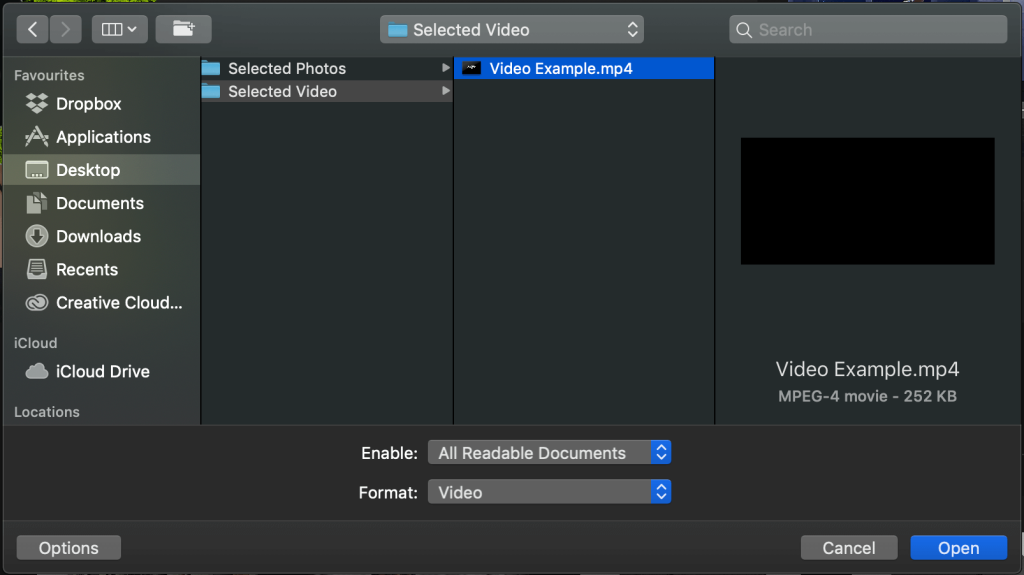
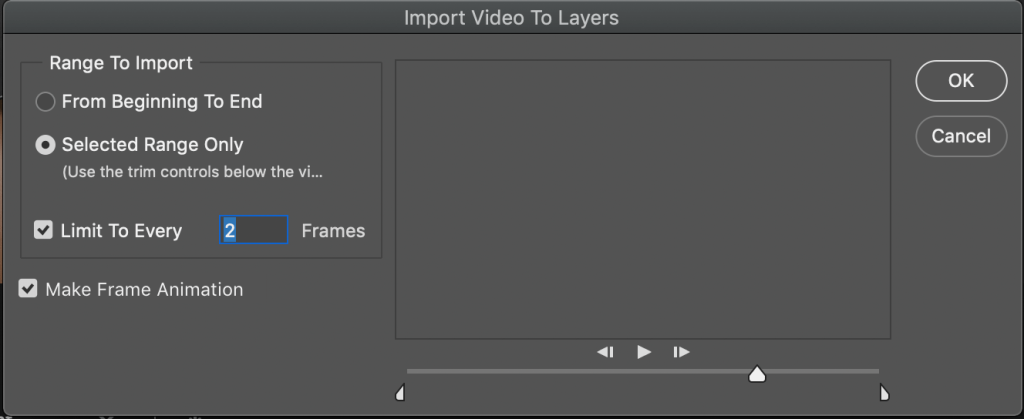
A window will pop up asking how much of the video you’d like to import (I’d keep it short for small file sizes). Simply click Selected Range Only and select the how much of the video you want using the slider below the video. Next step Photoshop will ask how many frames it should be importing. Play around till you’re satisfied then click OK.
When you have imported your video files into layers you can then move onto Exporting.
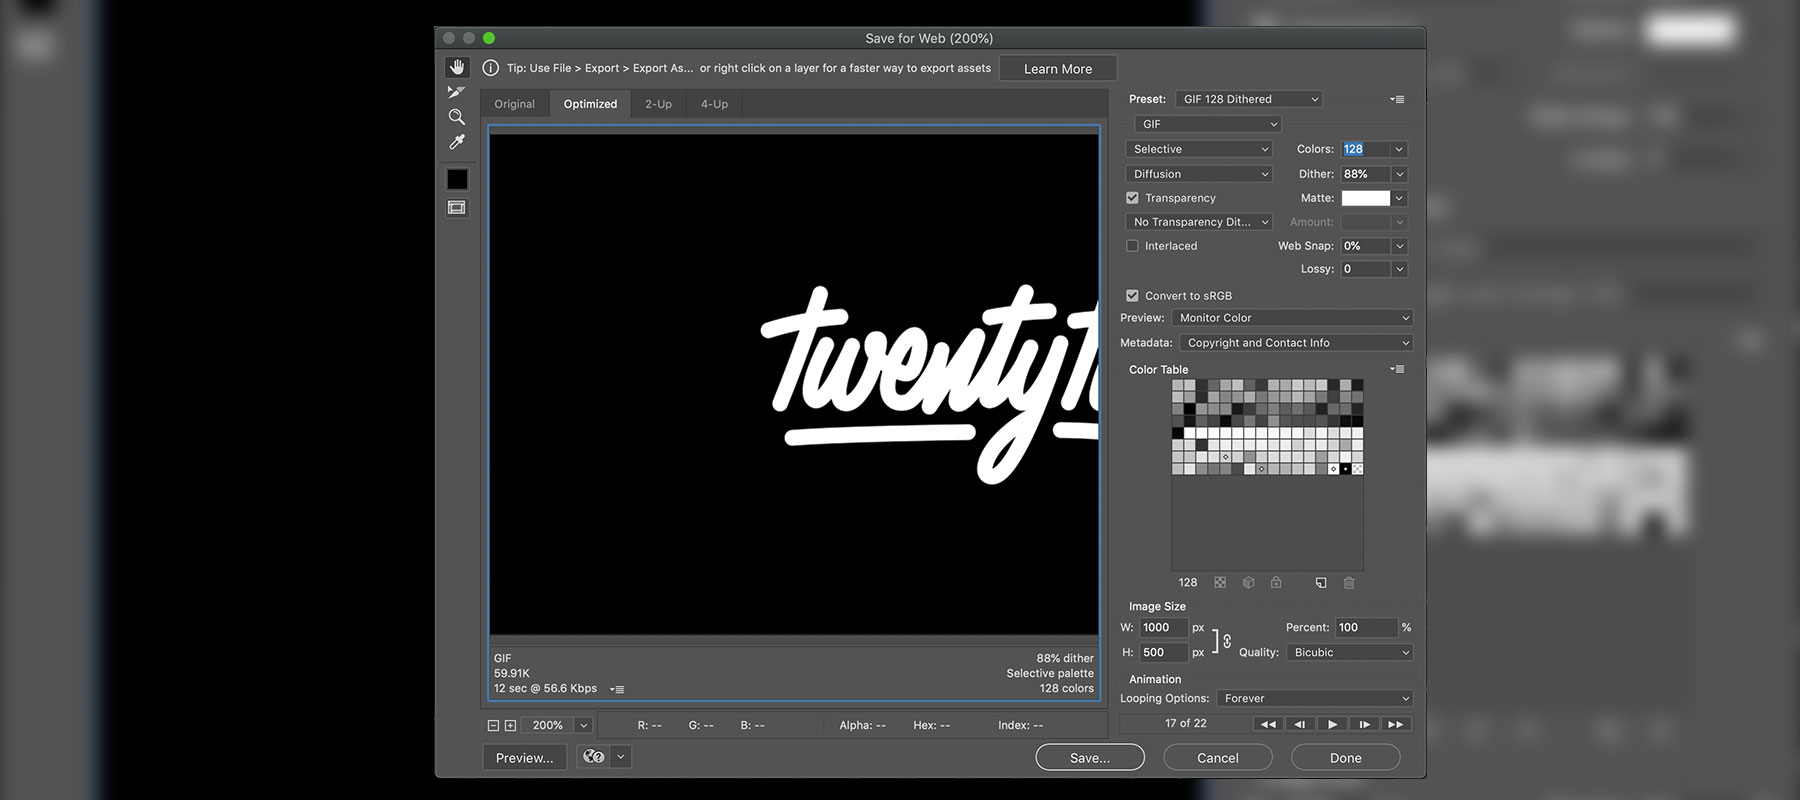
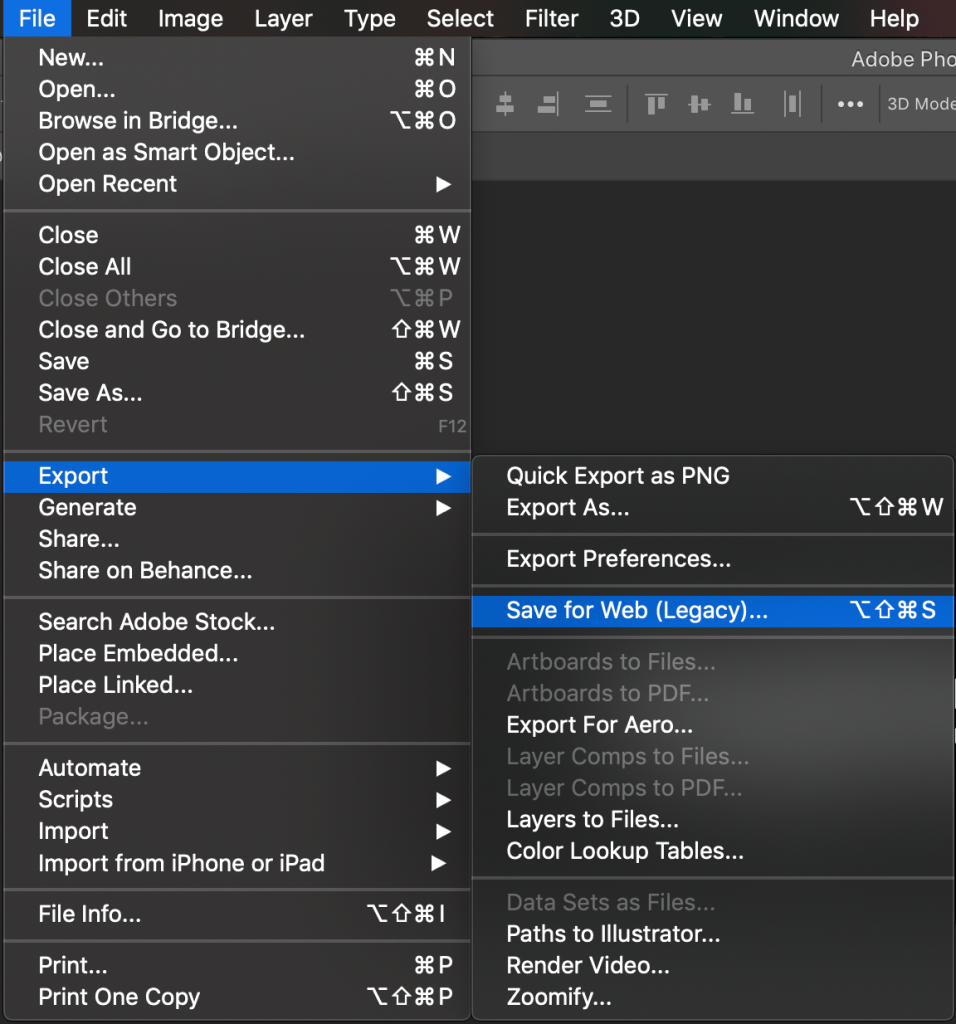
Click File > Export > Save for Web (Legacy)…
Next this menu that looks overwhelmingly complicated will appear. Under the “Preset” menu, select GIF 128 Dithered.
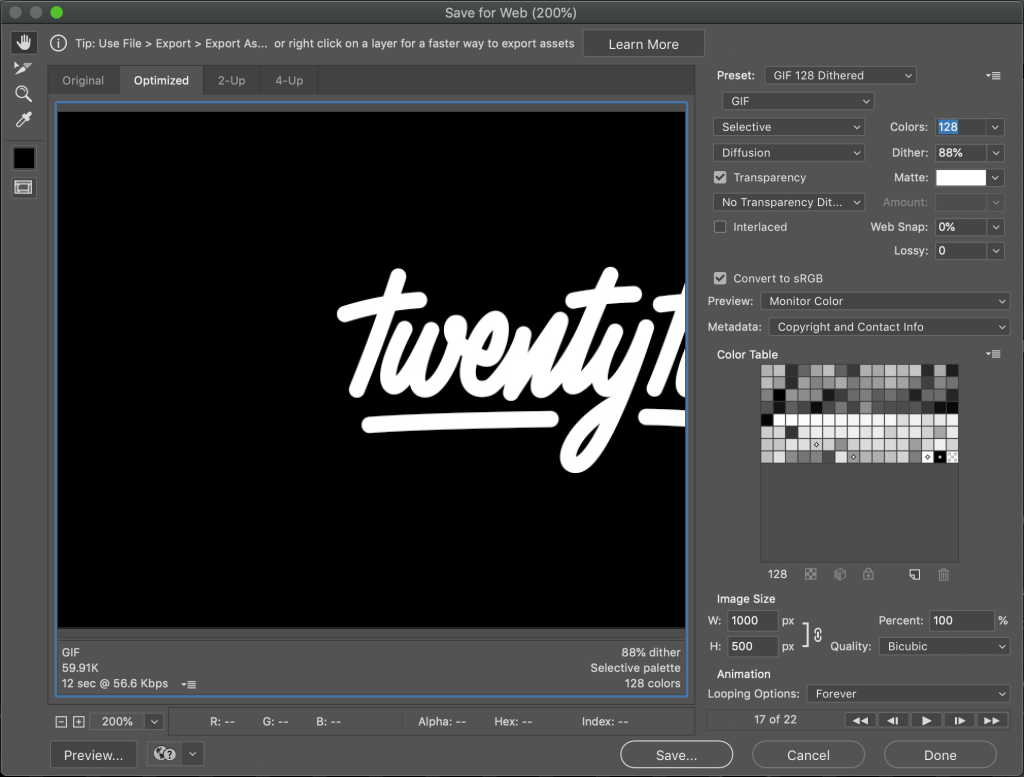
Change your Colours setting to 256 (the max number for a GIF) for the highest quality GIF output.
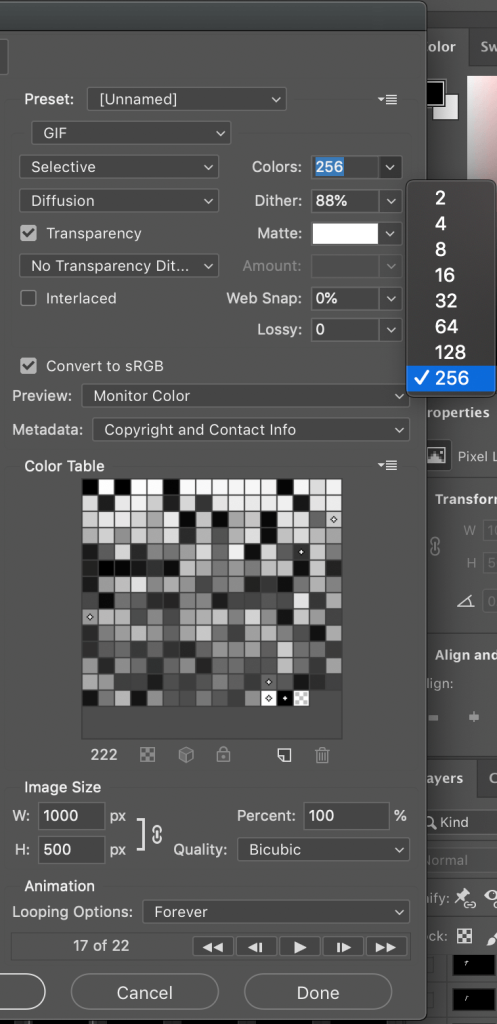
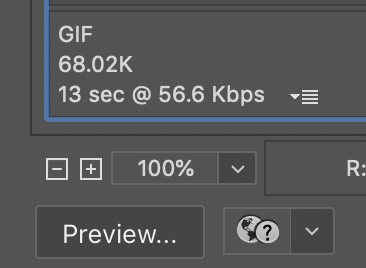
To check how it will turn out, click Preview in the bottom left corner. It will open your default web browser and play a looping preview of your GIF.
Once happy with it click Save. From here you name your GIF file, and save the GIF to your computer.
Congratulations you’ve created you first GIF! Now go and make more!
